Sensory Cubes
The idea for our sensory cubes came from seeing my little one interact with a sensory toy he received as a baby and watching how happy and calm it made him so I thought "Why can't we do a bigger one?"

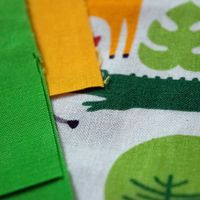
Cutting Squares
I started by cutting out the squares for the cube and inner, making sure to use a vibrant print with matching tones.
It took a few tries to find a size I was happy to start with.
Necessary extra steps
I find it's important to use vibrant and good quality fabrics for anything I make but especially when making products for young minds to engage with.
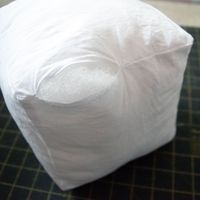
I've decided a removable inner (Filled with 100% polyester fibre filling) is a must for this product due to the fact that kids are just messy and that's okay!
I even take pride in knowing that the removable inner is finished perfectly, making sure to take the time to hand-close the opening.

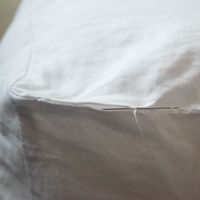
Prepping my sections
You can't get a perfect sew without taking the time to make sure every piece is prepped and ready to go, this includes pinning and pressing as you go.
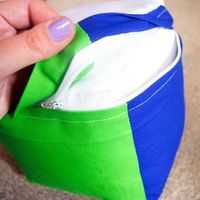
Easy to maintain
With a wide zip opening you don't have to worry about any spit ups or food spills, simply un-zip and throw in a quick wash!
Your sensory cube will be ready to play with again and without feeling like you've just wrestled an alligator into a pair of tights!
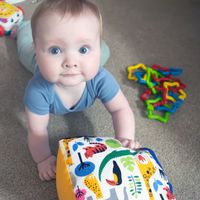
Final Result
Watching all the kids enjoy my sensory cubes together brings great joy and reminds me of why I love sewing!